Using Caddy as a reverse proxy
We’re now in the position where we have our Greenlight API application running as a background service on our droplet, and listening for HTTP requests on port 4000. And we also have Caddy running as a background service and listening for HTTP requests on port 80.
So the next step in setting up our production environment is to configure Caddy to act as a reverse proxy and forward any HTTP requests that it receives onward to our API.
The simplest way to configure Caddy is to create a Caddyfile — which contains a series of rules describing what we want Caddy to do. If you’re following along, please go ahead and create a new remote/production/Caddyfile file in your project directory:
$ touch remote/production/Caddyfile
And then add the following content, making sure to replace the IP address with the address of your own droplet:
http://161.35.71.158 {
  reverse_proxy localhost:4000
}
As you can probably guess by looking at it, this rule tells Caddy that we want it to listen for HTTP requests to 161.35.71.158 and then act as a reverse proxy, forwarding the request to port 4000 on the local machine (where our API is listening).
The next thing we need to do is upload this Caddyfile to our droplet and reload Caddy for the changes to take effect.
To manage this, let’s update our production/deploy/api rule. This will follow the same basic pattern that we used in the previous chapter for uploading our api.service file, but instead we’ll copy our Caddyfile to /etc/caddy/Caddyfile on the server.
Like so:
# ==================================================================================== #
# PRODUCTION
# ==================================================================================== #

production_host_ip = '161.35.71.158'

...

## production/deploy/api: deploy the api to production
.PHONY: production/deploy/api
production/deploy/api:
	rsync -P ./bin/linux_amd64/api greenlight@${production_host_ip}:~
	rsync -rP --delete ./migrations greenlight@${production_host_ip}:~
	rsync -P ./remote/production/api.service greenlight@${production_host_ip}:~
	rsync -P ./remote/production/Caddyfile greenlight@${production_host_ip}:~
	ssh -t greenlight@${production_host_ip} '\
		migrate -path ~/migrations -database $$GREENLIGHT_DB_DSN up \
		&& sudo mv ~/api.service /etc/systemd/system/ \
		&& sudo systemctl enable api \
		&& sudo systemctl restart api \
		&& sudo mv ~/Caddyfile /etc/caddy/ \
		&& sudo systemctl reload caddy \
	'
Once you’ve made that change, go ahead and run the rule to deploy the Caddyfile into production:
$ make production/deploy/api
rsync -P ./bin/linux_amd64/api greenlight@"161.35.71.158":~
api
      7,634,944 100%   70.67MB/s    0:00:00 (xfr#1, to-chk=0/1)
rsync -rP --delete ./migrations greenlight@"161.35.71.158":~
sending incremental file list
migrations/000001_create_movies_table.down.sql
             28 100%    0.00kB/s    0:00:00 (xfr#1, to-chk=11/13)
migrations/000001_create_movies_table.up.sql
            286 100%  279.30kB/s    0:00:00 (xfr#2, to-chk=10/13)
migrations/000002_add_movies_check_constraints.down.sql
            198 100%  193.36kB/s    0:00:00 (xfr#3, to-chk=9/13)
migrations/000002_add_movies_check_constraints.up.sql
            289 100%  282.23kB/s    0:00:00 (xfr#4, to-chk=8/13)
migrations/000003_add_movies_indexes.down.sql
             78 100%   76.17kB/s    0:00:00 (xfr#5, to-chk=7/13)
migrations/000003_add_movies_indexes.up.sql
            170 100%  166.02kB/s    0:00:00 (xfr#6, to-chk=6/13)
migrations/000004_create_users_table.down.sql
             27 100%   26.37kB/s    0:00:00 (xfr#7, to-chk=5/13)
migrations/000004_create_users_table.up.sql
            294 100%  287.11kB/s    0:00:00 (xfr#8, to-chk=4/13)
migrations/000005_create_tokens_table.down.sql
             28 100%   27.34kB/s    0:00:00 (xfr#9, to-chk=3/13)
migrations/000005_create_tokens_table.up.sql
            203 100%  198.24kB/s    0:00:00 (xfr#10, to-chk=2/13)
migrations/000006_add_permissions.down.sql
             73 100%   71.29kB/s    0:00:00 (xfr#11, to-chk=1/13)
migrations/000006_add_permissions.up.sql
            452 100%  441.41kB/s    0:00:00 (xfr#12, to-chk=0/13)
rsync -P ./remote/production/api.service greenlight@"161.35.71.158":~
api.service
          1,266 100%    0.00kB/s    0:00:00 (xfr#1, to-chk=0/1)
rsync -P ./remote/production/Caddyfile greenlight@"161.35.71.158":~
Caddyfile
            293 100%    0.00kB/s    0:00:00 (xfr#1, to-chk=0/1)
ssh -t greenlight@"161.35.71.158" '\
        migrate -path ~/migrations -database $GREENLIGHT_DB_DSN up \
        && sudo mv ~/api.service /etc/systemd/system/ \
        && sudo systemctl enable api \
        && sudo systemctl restart api \
        && sudo mv ~/Caddyfile /etc/caddy/ \
        && sudo systemctl reload caddy \
'
no change
[sudo] password for greenlight:
Connection to 161.35.71.158 closed.
You should see that the Caddyfile is copied across and the reload executes cleanly without any errors.
At this point you can visit http://<your_droplet_ip>/v1/healthcheck in a web browser, and you should find that the request is successfully forwarded on from Caddy to our API. Like so:

Blocking access to application metrics
While we’re in the browser, let’s navigate to the GET /debug/vars endpoint which displays our application metrics. You should see a response similar to this:
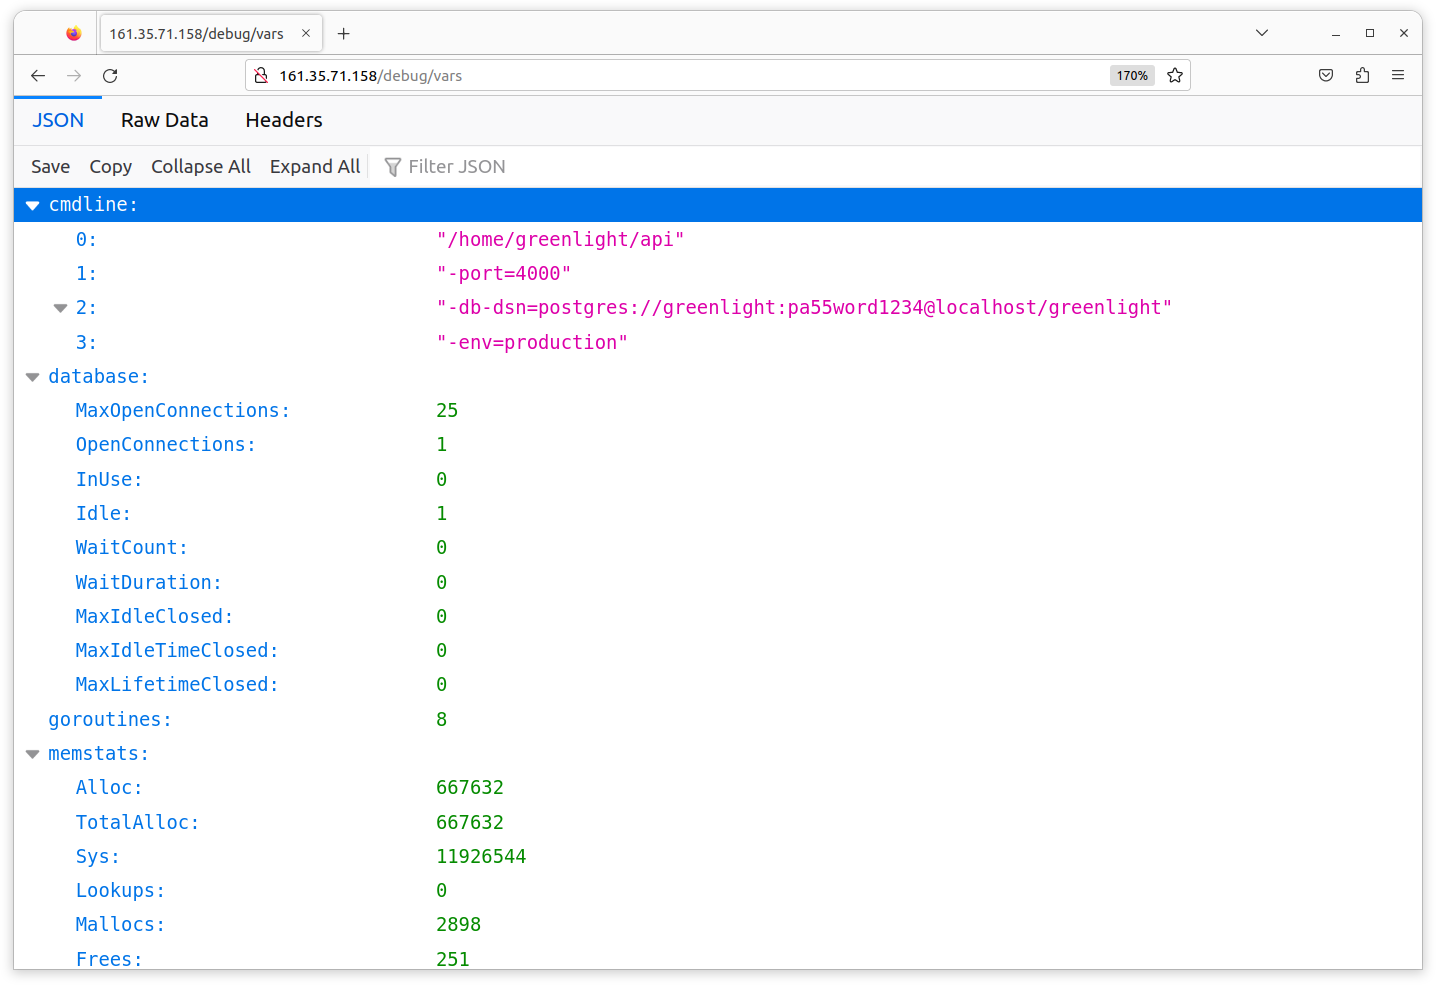
As we mentioned earlier, it’s really not a good idea for this sensitive information to be publicly accessible.
Fortunately, it’s very easy to block access to this by adding a new respond directive to our Caddyfile like so:
http://161.35.71.158 {
  respond /debug/* "Not Permitted" 403
  reverse_proxy localhost:4000
}
With this new directive we’re instructing Caddy to send a 403 Forbidden response for all requests which have a URL path beginning /debug/.
Go ahead and deploy this change to production again, and when you refresh the page in your web browser you should find that it is now blocked.
$ make production/deploy/api

Although the metrics are no longer publicly accessible, you can still access them by connecting to your droplet via SSH and making a request to http://localhost:4000/debug/vars.
$ make production/connect
greenlight@greenlight-production:~$ curl http://localhost:4000/debug/vars
{
"cmdline": ...,
"database": ...,
"goroutines": 7,
"memstats": ...,
"timestamp": 1618820037,
"total_processing_time_μs": 1305,
"total_requests_received": 8,
"total_responses_sent": 7,
"total_responses_sent_by_status": {"200": 3, "404": 4},
"version": "v1.0.0-1-gf27fd0f"
}
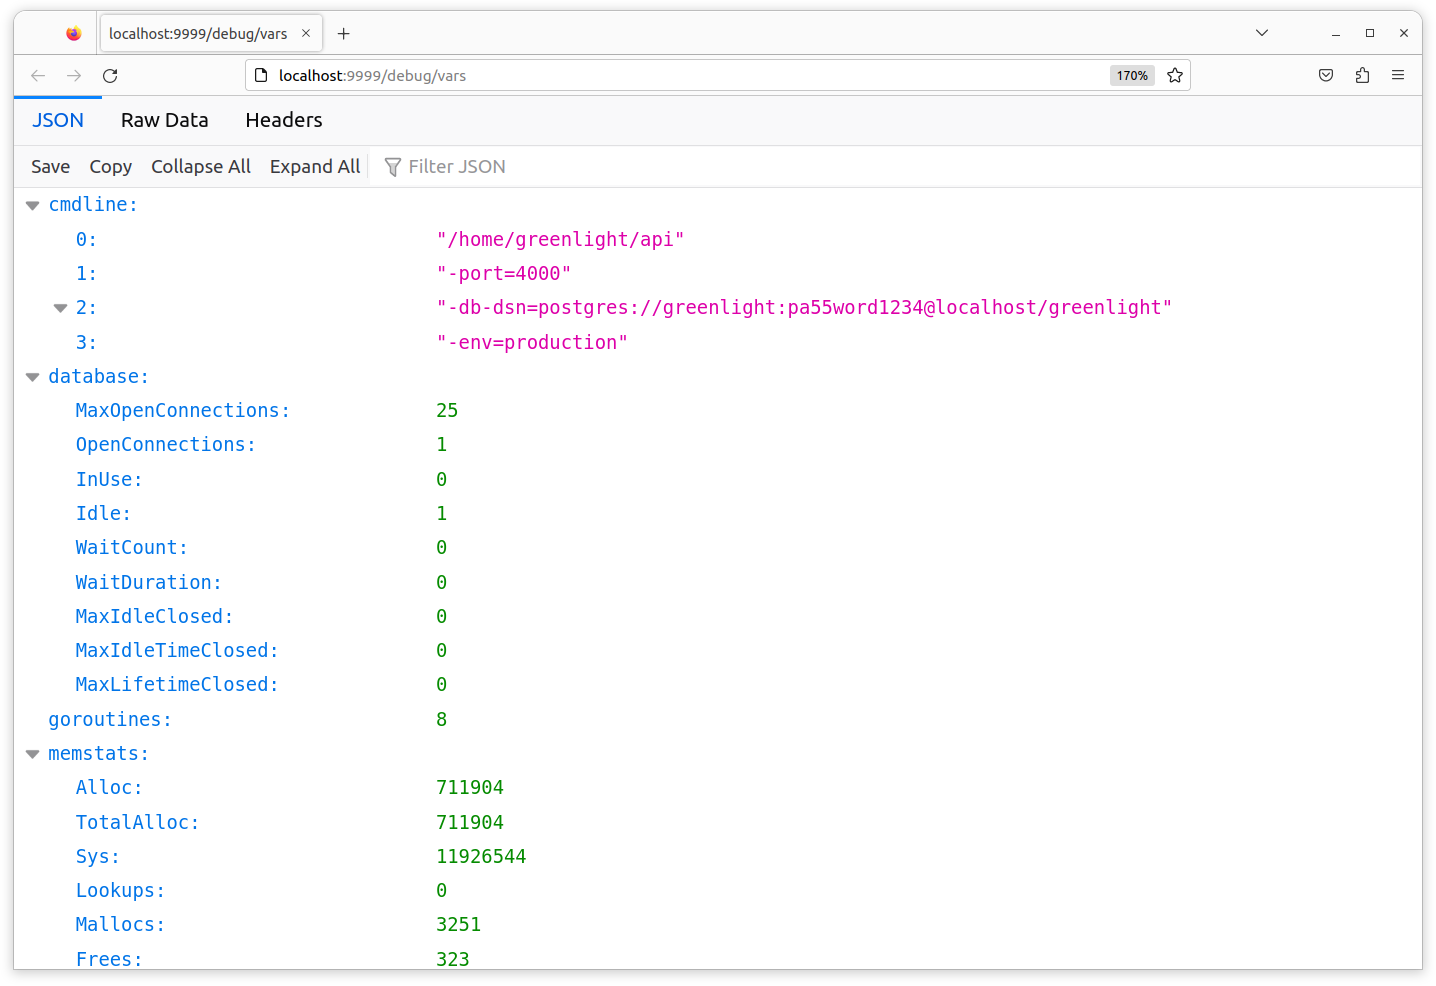
Or alternatively, you can open an SSH tunnel to the droplet and view them using a web browser on your local machine. For example, you could open an SSH tunnel between port 4000 on the droplet and port 9999 on your local machine by running the following command (make sure to replace both IP addresses with your own droplet IP):
$ ssh -L :9999:161.35.71.158:4000 greenlight@161.35.71.158
While that tunnel is active, you should be able to visit http://localhost:9999/debug/vars in your web browser and see your application metrics, like so:
Using a domain name
For the next step of our deployment we’re going to configure Caddy so that we can access our droplet via a domain name, instead of needing to use the IP address.
If you want to follow along with this step you’ll need access to a domain name and the ability to update the DNS records for that domain name. If you don’t have a domain name already available that you can use, then you can get one for free via the Freenom service.
I’m going to use the domain greenlight.alexedwards.net in the sample code here, but you should swap this out for your own domain if you’re following along.
The first thing you’ll need to do is configure the DNS records for your domain name so that they contain an A record pointing to the IP address for your droplet. So in my case the DNS record would look like this:
A greenlight.alexedwards.net 161.35.71.158
Once you’ve got the DNS record in place, the next task is to update the Caddyfile to use your domain name instead of your droplet’s IP address. Go ahead and swap this out like so (remember to replace greenlight.alexedwards.net with your own domain name):
http://greenlight.alexedwards.net {
  respond /debug/* "Not Permitted" 403
  reverse_proxy localhost:4000
}
And then redeploy the Caddyfile to your droplet again:
$ make production/deploy/api
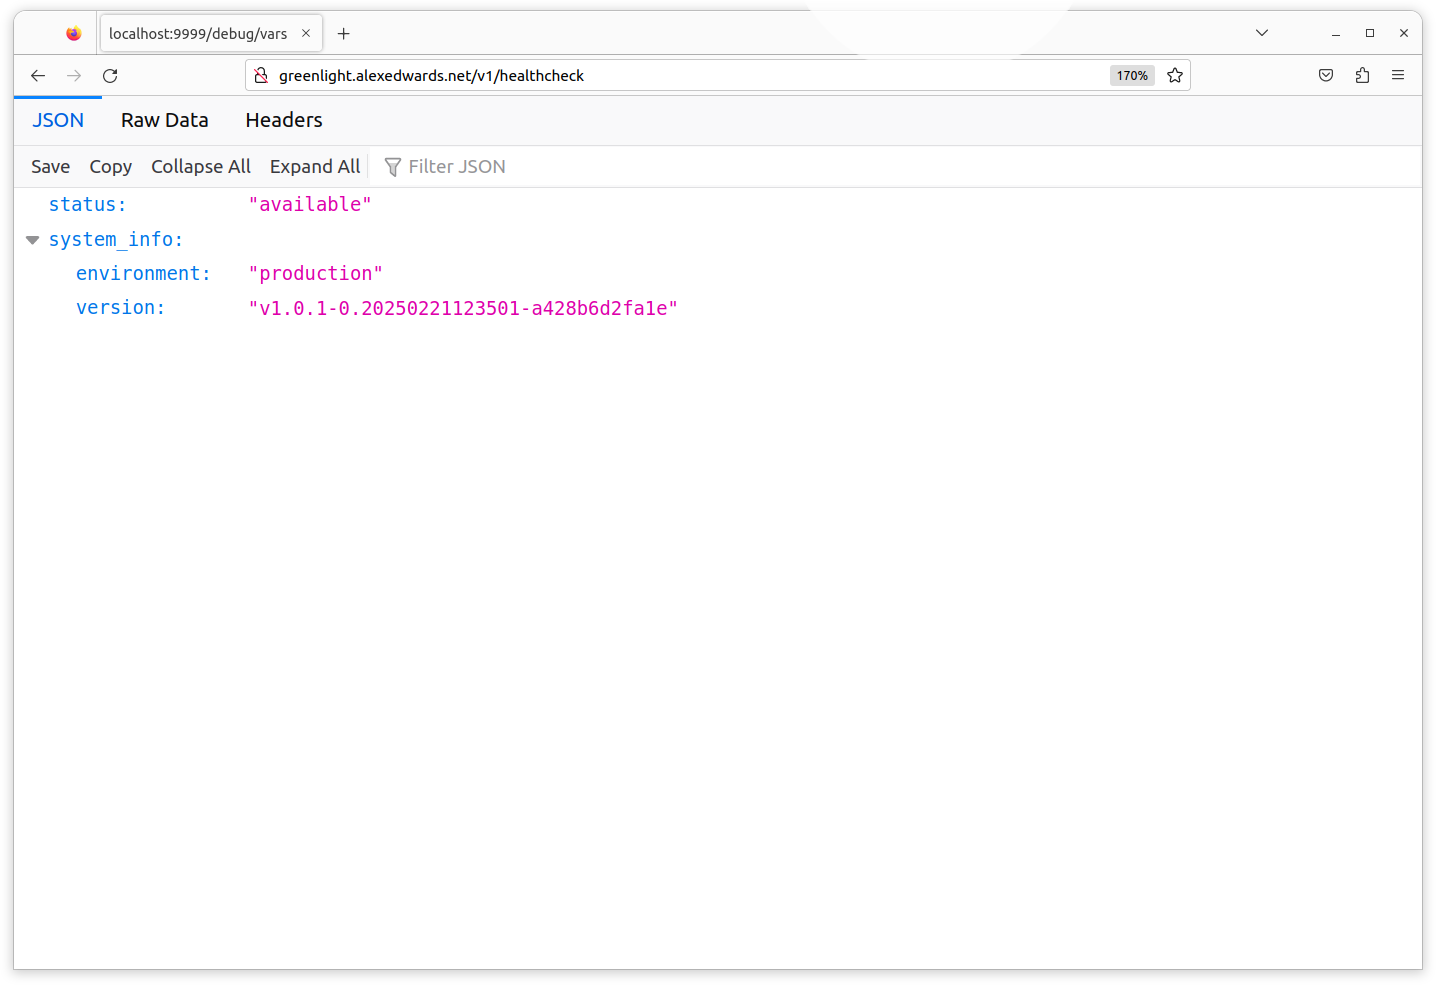
Once you’ve done that, you should now be able to access the API via your domain name by visiting http://<your_domain_name>/v1/healthcheck in your browser:
Enabling HTTPS
Now that we have a domain name set up we can utilize one of Caddy’s headline features: automatic HTTPS.
Caddy will automatically handle provisioning and renewing TLS certificates for your domain via Let’s Encrypt or ZeroSSL (depending on availability), as well as redirecting all HTTP requests to HTTPS. It’s simple to set up, very robust, and saves you the overhead of needing to keep track of certificate renewals manually.
To enable this, we just need to update our Caddyfile so that it looks like this:
# Set the email address that should be used to contact you if there is a problem with
# your TLS certificates.
{
  email you@example.com
}

# Remove the http:// prefix from your site address.
greenlight.alexedwards.net {
  respond /debug/* "Not Permitted" 403
  reverse_proxy localhost:4000
}
For the final time, deploy this Caddyfile update to your droplet…
$ make production/deploy/api
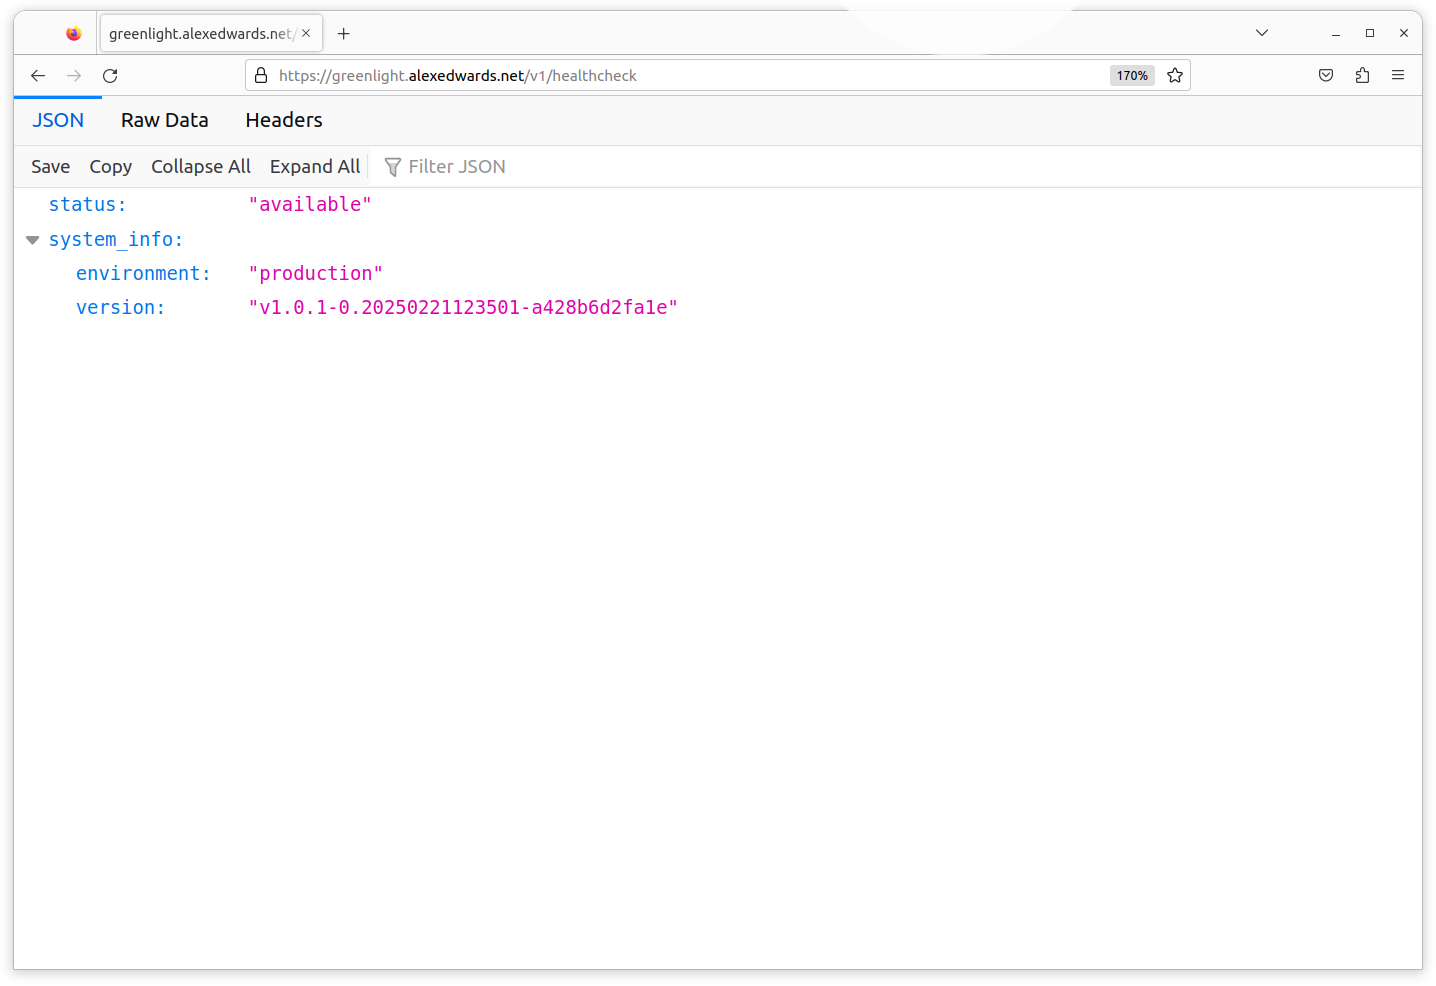
And then when you refresh the page in your web browser, you should find that it is automatically redirected to an HTTPS version of the page.
If you’re using Firefox, you can also look at the page information in your browser by pressing Ctrl+i. It should look similar to this:
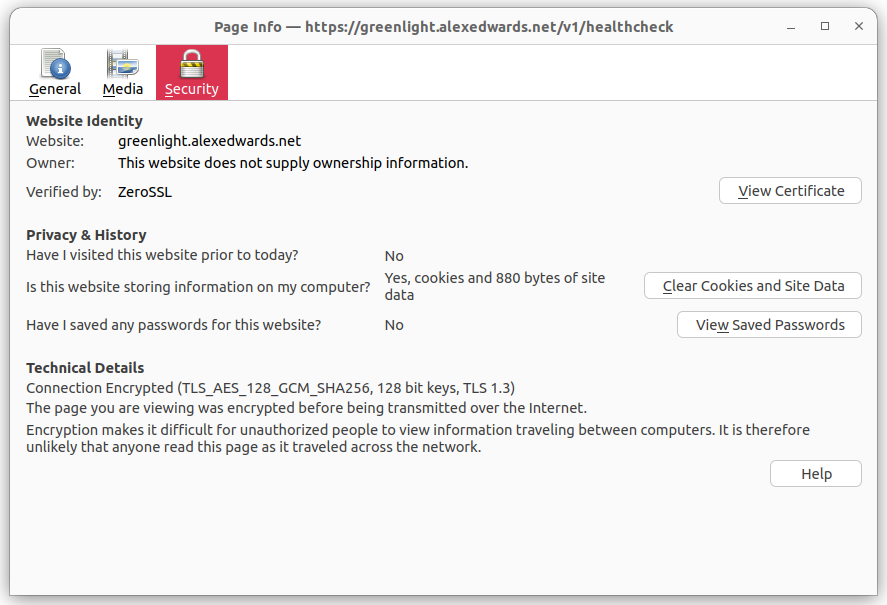
We can see from this that the connection has been successfully encrypted using TLS 1.3 and the TLS_AES_128_GCM_SHA256 cipher suite.
Lastly, if you want, you can use curl to try making an HTTP request to the application. You should see that this issues a 308 Permanent Redirect to the HTTPS version of the application, like so:
$ curl -i http://greenlight.alexedwards.net
HTTP/1.1 308 Permanent Redirect
Connection: close
Location: https://greenlight.alexedwards.net/
Server: Caddy
Date: Mon, 19 Apr 2021 08:36:20 GMT
Content-Length: 0
Additional information
Scaling the infrastructure
Before launching a new service, it’s often useful to do a thought experiment and ask yourself: What happens as traffic to the service increases? How would I manage it?
For this project, there’s a clear path that we could follow to scale up and adapt the infrastructure to accommodate growth. Very roughly, the path looks something like this:
- Use single low-powered droplet running Caddy, PostgreSQL, and the Go application. This is what we currently have.
- ↓ Upgrade the droplet to have more CPU and/or memory as necessary.
- ↓ Move PostgreSQL to a separate droplet, or use a managed database.
- ↓ Upgrade droplets/managed databases to have more CPU and/or memory as necessary.
- If the droplet running the Go application is a bottleneck:
- ↓ Profile and optimize your Go application code.
- ↓ Run the Go application on multiple droplets, behind a load balancer.
- If the PostgreSQL database is a bottleneck:
- ↓ Profile and optimize the database settings and database queries.
- ↓ If appropriate, cache the results of expensive/frequent database queries.
- ↓ If appropriate, move some operations to an in-memory database such as Redis.
- ↓ Start using read-only database replicas for queries where possible.
- ↓ Start sharding the database.
In other projects, these steps and the order of them will probably be different. And in some cases, it may be sensible to jump straight into a more complex architecture straight away, based on business requirements, traffic estimates and load testing results.
But taking a short moment to do a thought experiment like this is good. If you can see a clear path, then it provides some positive reassurance that growth can be accommodated without you optimizing the infrastructure or application prematurely. Whereas if you can’t see a clear path to accommodate growth, then it highlights a potential problem and it may be sensible to revisit your infrastructure choices.