Server configuration and installing software
Now that our Ubuntu Linux droplet has been successfully commissioned, we need to do some housekeeping to secure the server and get it ready to use. Rather than do this manually, in this chapter we’re going to create a reusable script to automate these setup tasks.
At a high level, we want our setup script to do the following things:
Update all packages on the server, including applying security updates.
Set the server timezone (in my case I’ll set it to
Europe/Berlin) and install support for all locales.Create a
greenlightuser on the server, which we can use for day-to-day maintenance and for running our API application (rather than using the all-powerfulrootuser account). We should also add thegreenlightuser to thesudogroup, so that it can perform actions asrootif necessary.Copy the
rootuser’s$HOME/.sshdirectory into thegreenlightuser’s home directory. This will enable us to authenticate as thegreenlightuser using the same SSH key pair that we used to authenticate as therootuser. We should also force thegreenlightuser to set a new password the first time they log in.Configure firewall settings to only permit traffic on ports
22(SSH),80(HTTP) and443(HTTPS). We’ll also install fail2ban to automatically temporarily ban an IP address if it makes too many failed SSH login attempts.Install PostgreSQL. We’ll also create the
greenlightdatabase and user, and create a system-wideGREENLIGHT_DB_DSNenvironment variable for connecting to the database.Install the
migratetool, using the pre-built binaries from GitHub, in exactly the same way that we did earlier in the book.Install Caddy by following the official installation instructions for Ubuntu.
Reboot the droplet.
If you’re following along, create a new remote/setup folder in your project directory and add a script file called 01.sh, like so:
$ mkdir -p remote/setup
$ touch remote/setup/01.sh
Then add the following code:
#!/bin/bash
set -eu

# ==================================================================================== #
# VARIABLES
# ==================================================================================== #

# Set the timezone for the server. A full list of available timezones can be found by
# running timedatectl list-timezones.
TIMEZONE=Europe/Berlin

# Set the name of the new user to create.
USERNAME=greenlight

# Prompt to enter a password for the PostgreSQL greenlight user (rather than hard-coding
# a password in this script).
read -p "Enter password for greenlight DB user: " DB_PASSWORD

# Force all output to be presented in en_US for the duration of this script. This avoids
# any "setting locale failed" errors while this script is running, before we have
# installed support for all locales. Do not change this setting!
export LC_ALL=en_US.UTF-8

# ==================================================================================== #
# SCRIPT LOGIC
# ==================================================================================== #

# Enable the "universe" repository.
add-apt-repository --yes universe

# Update all software packages.
apt update

# Set the system timezone and install all locales.
timedatectl set-timezone ${TIMEZONE}
apt --yes install locales-all

# Add the new user (and give them sudo privileges).
useradd --create-home --shell "/bin/bash" --groups sudo "${USERNAME}"

# Force a password to be set for the new user the first time they log in.
passwd --delete "${USERNAME}"
chage --lastday 0 "${USERNAME}"

# Copy the SSH keys from the root user to the new user.
rsync --archive --chown=${USERNAME}:${USERNAME} /root/.ssh /home/${USERNAME}

# Configure the firewall to allow SSH, HTTP and HTTPS traffic.
ufw allow 22
ufw allow 80/tcp
ufw allow 443/tcp
ufw --force enable

# Install fail2ban.
apt --yes install fail2ban

# Install the migrate CLI tool.
curl -L https://github.com/golang-migrate/migrate/releases/download/v4.14.1/migrate.linux-amd64.tar.gz | tar xvz
mv migrate.linux-amd64 /usr/local/bin/migrate

# Install PostgreSQL.
apt --yes install postgresql

# Set up the greenlight DB and create a user account with the password entered earlier.
sudo -i -u postgres psql -c "CREATE DATABASE greenlight"
sudo -i -u postgres psql -d greenlight -c "CREATE EXTENSION IF NOT EXISTS citext"
sudo -i -u postgres psql -d greenlight -c "CREATE ROLE greenlight WITH LOGIN PASSWORD '${DB_PASSWORD}'"

# Add a DSN for connecting to the greenlight database to the system-wide environment
# variables in the /etc/environment file.
echo "GREENLIGHT_DB_DSN='postgres://greenlight:${DB_PASSWORD}@localhost/greenlight'" >> /etc/environment

# Install Caddy (see https://caddyserver.com/docs/install#debian-ubuntu-raspbian).
apt --yes install debian-keyring debian-archive-keyring apt-transport-https
curl -1sLf 'https://dl.cloudsmith.io/public/caddy/stable/gpg.key' | sudo gpg --dearmor -o /usr/share/keyrings/caddy-stable-archive-keyring.gpg
curl -1sLf 'https://dl.cloudsmith.io/public/caddy/stable/debian.deb.txt' | sudo tee /etc/apt/sources.list.d/caddy-stable.list
apt update
apt --yes install caddy

# Upgrade all packages. Using the --force-confnew flag means that configuration
# files will be replaced if newer ones are available.
apt --yes -o Dpkg::Options::="--force-confnew" upgrade

echo "Script complete! Rebooting..."
reboot
OK, let’s now run this script on our new DigitalOcean droplet. This will be a two-step process:
- First we need to copy the script to the droplet (which we will do using
rsync). - Then we need to connect to the droplet via SSH and execute the script.
Go ahead and run the following command to rsync the contents of the /remote/setup folder to the root user’s home directory on the droplet. Remember to replace the IP address with your own!
$ rsync -rP --delete ./remote/setup root@161.35.71.158:/root
sending incremental file list
setup/
setup/01.sh
          3,354 100%    0.00kB/s    0:00:00 (xfr#1, to-chk=0/2)
Now that a copy of our setup script is on the droplet, let’s use the ssh command to execute the script on the remote machine as the root user. We’ll use the -t flag to force pseudo-terminal allocation, which is useful when executing screen-based programs on a remote machine.
Go ahead and run the script, entering a password for the greenlight PostgreSQL user, like so:
$ ssh -t root@161.35.71.158 "bash /root/setup/01.sh"
Enter password for greenlight DB user: pa55word1234
Adding component(s) 'universe' to all repositories.
Hit:1 https://repos.insights.digitalocean.com/apt/do-agent main InRelease
Hit:2 http://mirrors.digitalocean.com/ubuntu jammy InRelease
Hit:3 http://mirrors.digitalocean.com/ubuntu jammy-updates InRelease
Hit:4 https://repos-droplet.digitalocean.com/apt/droplet-agent main InRelease
Hit:5 http://mirrors.digitalocean.com/ubuntu jammy-backports InRelease
...
Script complete! Rebooting...
Connection to 161.35.71.158 closed by remote host.
Connection to 161.35.71.158 closed.
After a few minutes the script should complete successfully and the droplet will be rebooted — which will also kick you off the SSH connection.
Connecting as the greenlight user
After waiting a minute for the reboot to complete, try connecting to the droplet as the greenlight user over SSH. This should work correctly (and the SSH key pair you created in the previous chapter should be used to authenticate the connection) but you will be prompted to set a password.
$ ssh greenlight@161.35.71.158
You are required to change your password immediately (administrator enforced).
Welcome to Ubuntu 22.04.2 LTS (GNU/Linux 5.15.0-60-generic x86_64)

 * Documentation:  https://help.ubuntu.com
 * Management:     https://landscape.canonical.com
 * Support:        https://ubuntu.com/advantage

  System information as of Thu Feb 23 16:46:00 CET 2023

  System load:  0.0               Users logged in:       0
  Usage of /:   25.7% of 9.51GB   IPv4 address for eth0: 161.35.71.158
  Memory usage: 41%               IPv4 address for eth0: 10.19.0.5
  Swap usage:   0%                IPv4 address for eth1: 10.114.0.2
  Processes:    101

 * Introducing Expanded Security Maintenance for Applications.
   Receive updates to over 25,000 software packages with your
   Ubuntu Pro subscription. Free for personal use.

     https://ubuntu.com/pro

Expanded Security Maintenance for Applications is not enabled.

0 updates can be applied immediately.

Enable ESM Apps to receive additional future security updates.
See https://ubuntu.com/esm or run: sudo pro status

The programs included with the Ubuntu system are free software;
the exact distribution terms for each program are described in the
individual files in /usr/share/doc/*/copyright.

Ubuntu comes with ABSOLUTELY NO WARRANTY, to the extent permitted by
applicable law.

WARNING: Your password has expired.
You must change your password now and login again!
New password:
Retype new password:
passwd: password updated successfully
Connection to 161.35.71.158 closed.
The password you enter here will be the regular password for the greenlight user on your droplet (i.e. the password you will need to type whenever you are logged in and want to execute a sudo command). Just to be clear, it is not an SSH password for connecting as the greenlight user.
Go ahead and enter whatever password you would like, confirm it, and check that you see a message saying that the password change has been successful. The SSH connection will then be automatically terminated.
If you reconnect as the greenlight user, everything should now work normally and you should be able to execute commands on the droplet. Like so:
$ ssh greenlight@161.35.71.158
Welcome to Ubuntu 22.04.2 LTS (GNU/Linux 5.15.0-60-generic x86_64)

...

greenlight@greenlight-production:~$ whoami
greenlight
While we’re connected to the droplet, let’s take a quick look around and check that some key things are working as we would expect.
First, let’s check that the migrate binary has been downloaded and is on the system path by running it with the -version flag. All being well, this should print the migrate version number like so:
greenlight@greenlight-production:~$ migrate -version
4.14.1
Next, let’s verify that PostgreSQL is running, and that we can connect to it using the DSN in the GREENLIGHT_DB_DSN environment variable:
greenlight@greenlight-production:~$ psql $GREENLIGHT_DB_DSN
psql (14.6 (Ubuntu 14.6-0ubuntu0.22.04.1))
SSL connection (protocol: TLSv1.3, cipher: TLS_AES_256_GCM_SHA384, bits: 256, compression: off)
Type "help" for help.

greenlight=> exit
Finally, let’s check that Caddy is running by calling systemctl status caddy to see the status of the Caddy background service. You’ll need to use sudo here to run this command as root.
greenlight@greenlight-production:~$ sudo systemctl status caddy
● caddy.service - Caddy
     Loaded: loaded (/lib/systemd/system/caddy.service; enabled; vendor preset: enabled)
     Active: active (running) since Sun 2021-04-18 15:23:32 EDT; 37min ago
       Docs: https://caddyserver.com/docs/
   Main PID: 586 (caddy)
      Tasks: 7 (limit: 512)
     Memory: 37.6M
     CGroup: /system.slice/caddy.service
             └─586 /usr/bin/caddy run --environ --config /etc/caddy/Caddyfile
...
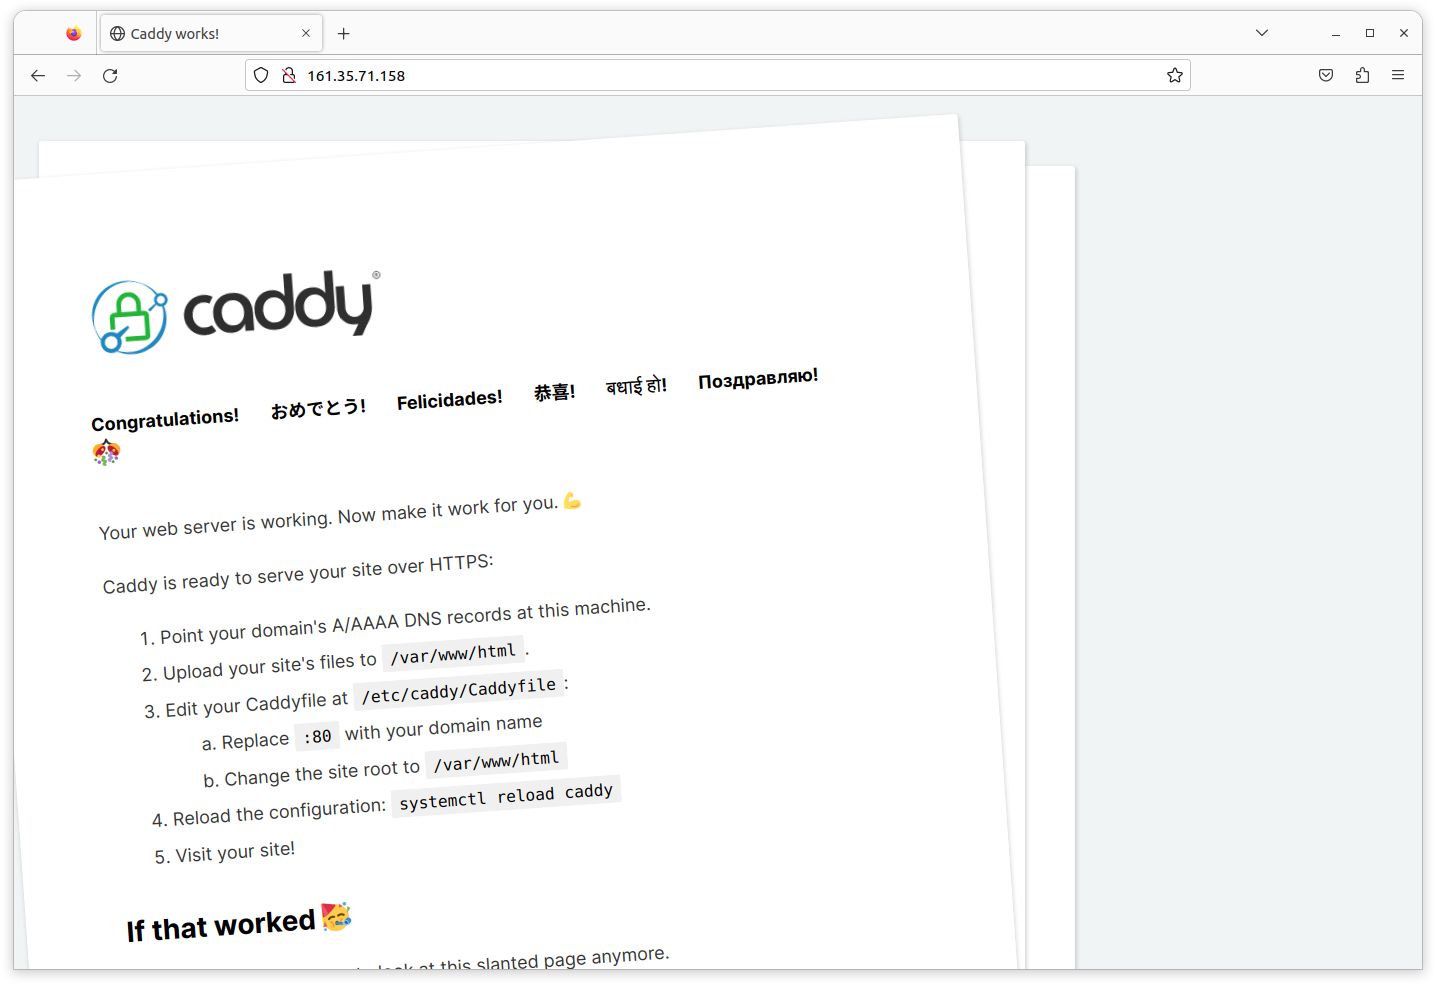
You should see that the status of the Caddy service is active (running) — confirming that Caddy is working successfully.
This means that you should be able to visit your droplet directly in a web browser via http://<your_droplet_ip>, and you should see the following Caddy welcome page.
Connecting to the droplet
To make connecting to the droplet a bit easier, and so we don’t have to remember the IP address, let’s quickly add a makefile rule for initializing an SSH connection to the droplet as the greenlight user. Like so:
...

# ==================================================================================== #
# PRODUCTION
# ==================================================================================== #

production_host_ip = '161.35.71.158'

## production/connect: connect to the production server
.PHONY: production/connect
production/connect:
	ssh greenlight@${production_host_ip}
Once that’s in place, you can then connect to your droplet whenever you need to by simply typing make production/connect:
$ make production/connect
ssh greenlight@'161.35.71.158'
Welcome to Ubuntu 20.04.2 LTS (GNU/Linux 5.4.0-65-generic x86_64)

...

greenlight@greenlight-production:~$
Additional information
Future changes to the droplet configuration
If you need to make further changes to your droplet configuration or settings, you can create an additional remote/setup/02.sh script and then execute it in the following way:
$ rsync -rP --delete ./remote/setup greenlight@161.35.71.158:~
$ ssh -t greenlight@161.35.71.158 "sudo bash /home/greenlight/setup/02.sh"